A First Set of Wheels
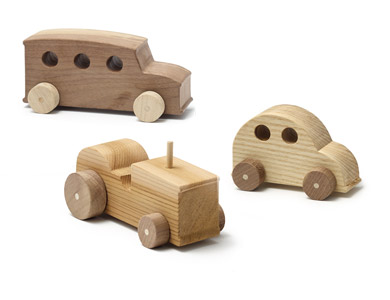
Wee ones will believe Santa's elves have been working overtime when they get their little hands on these classic wooden toys.
A First Set of Wheels
by Rob Brown
Wee ones will believe Santa's elves have been working overtime when they get their little hands on these classic wooden toys. Made with unfinished wood and a whole lot of love, they're sure to sustain a lifetime of test drives!
 What you'll need
Tools
- mitre saw 1347-890
- scroll saw
- planer
- sander
- drill
- drill press
- 1/4" drill bit
- 17/64" drill bit
- 3/4" Forstner bit
- 11/4" hole saw
- 21/8" hole saw
- hand saw
 hammer
- clamps
- sanding block
- file set 1122-877
Materials
Here's how
- Dress or select material for the body of the vehicle that is between 11/2" and 2" thick.
- Draw shape of body onto wood.
- Cut out body with scroll saw or band saw.
- Create the wheels with a hole saw. I used a 11/4" and 21/8" diameter hole saw, with a 1/4" diameter centre bit.
- Drill 17/64" diameter holes for axles, located so the bottom of the wheels overlap the bottom of the body by 1/4".
- Drill 3/4" diameter window holes through body with a Forstner bit.
- Drill 1/4" diameter hole for exhaust stacks or other additions to the body.
- Cut and glue any other decorative wooden parts.
- Sand all surfaces, especially the edges, of body and wheels.
- Cut the 1/4" wooden axles slightly longer than required then taper ends slightly with sandpaper.
- Glue one wheel onto one end of the axle.
- Slide axle through axle hole in body then attach the other wheel, leaving a slight gap so the wheels can turn freely.
- Allow glue to dry. Sand the outside face of the wheels.
- Double check to make sure there are no sharp edges.
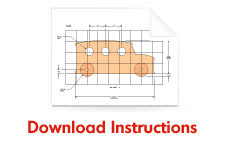
| Draw the Shape Download a template, or enjoy creating unique profiles on the wood. | 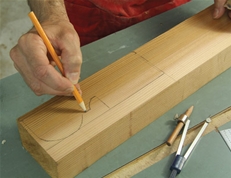 |
| Cut the Body Use either a scroll saw or a band saw to cut out the body. |  |
| Drill the Wheels Cut the wheels using a hole saw mounted in your drill press. Stop drilling just before you drill through the wood. Remove the wood disks carefully to reduce chipping on the underside. Hardwood is best as it's unlikely to split during assembly. | 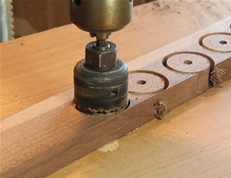 |
| Add Details Sand the wood features and glue them to the body to bring the vehicles to life. | 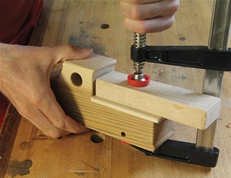 |
| No Sharp Edges Soften all edges with sandpaper and files. | 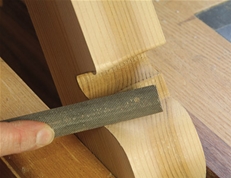 |
| Assemble the Axle | 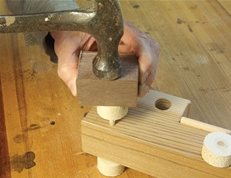 |
Rob Brown designs and builds custom furniture and is editor of Canadian Woodworking and Home Improvement magazine.


