 Open up to new beginnings
by Ralph Swan
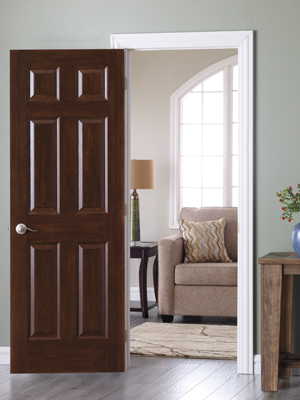
Your doors can make a statement and leave a great first impression of quality, functionality, and pride of ownership in your home.
- end table
- sofa
- console table
Our DIY Door Transformation project was achieved with Minwax® Chestnut Gel Stain on a hardboard door with a simulated wood grain. These doors have been used in home construction for many years and are available in slab, pre hung, hollow core, fibreglass for an exterior application, and sound and fire-resistant models too.
What You'll Need Here's How
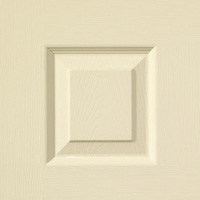
To get started, I recommend removing the door from the hinges and laying it on a pair of saw horses to make it easier to apply the finish. New doors come in a white pre-primed surface. If your door has been painted before, lightly sand to remove the gloss. I recommend all doors be primed with a good quality interior/exterior primer tinted to a light tan. This will help the transition to a wood tone while creating a bond on the door surface.
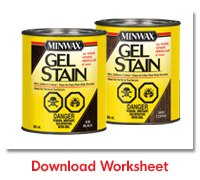
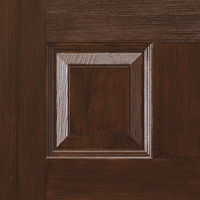
Once the primer has completely dried, use a synthetic, angle bristle, 11/2" Purdy XL brush to apply the first coat of Minwax Gel Stain colour. After the first coat is completely dry, apply a second coat to deepen and enhance the colour. Each coat will increase the colour volume.
To protect the surface for years to come, apply two coats of Minwax Fast-Drying Polyurethane for interior doors or Minwax Helmsman for exterior doors. Both are available in satin, semigloss, or gloss sheens. Allow the finish to cure before you hang the door.
That's the finish
Ralph Swan
Ralph Swan is a wood care expert from Minwax® and a frequent contributor to Home at Home magazine.
Practice, practice, practice
This project may take a little practice. Work on the backside of the door first, and if you need more practice, prime again and start over.

|  |
 |  |
| Before | After |
 Open up to new beginnings


